Phase 1
The following section uses the MD (MultiDevice) software RAID version of ViciBox. If you run into issues with RAID setup, it is recommended to wipe the drives with wipefs -fa /dev/sdX (replace sdX with device ID) and start over. The installation of the non-MD version is similar but with fewer steps.
Note
The installation process will destroy all data on the installation target disk. Make sure to back up any data you want to keep before proceeding.
Installation Steps
Boot from the install Phase 1.
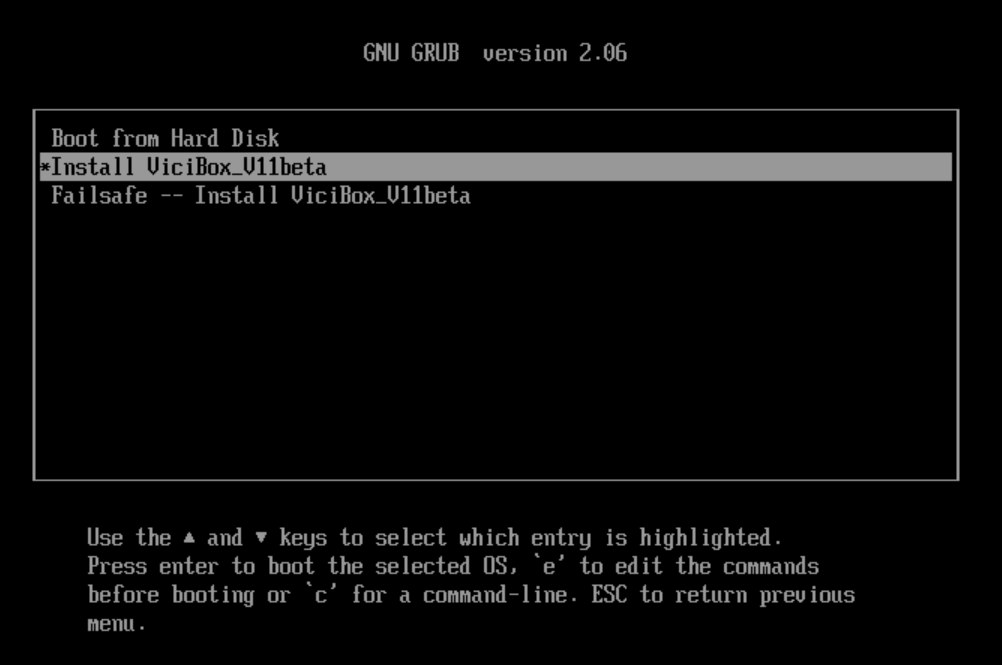
By default the install media will boot from the server’s local drive. Select Install ViciBox and press Enter to start the ViciBox install.
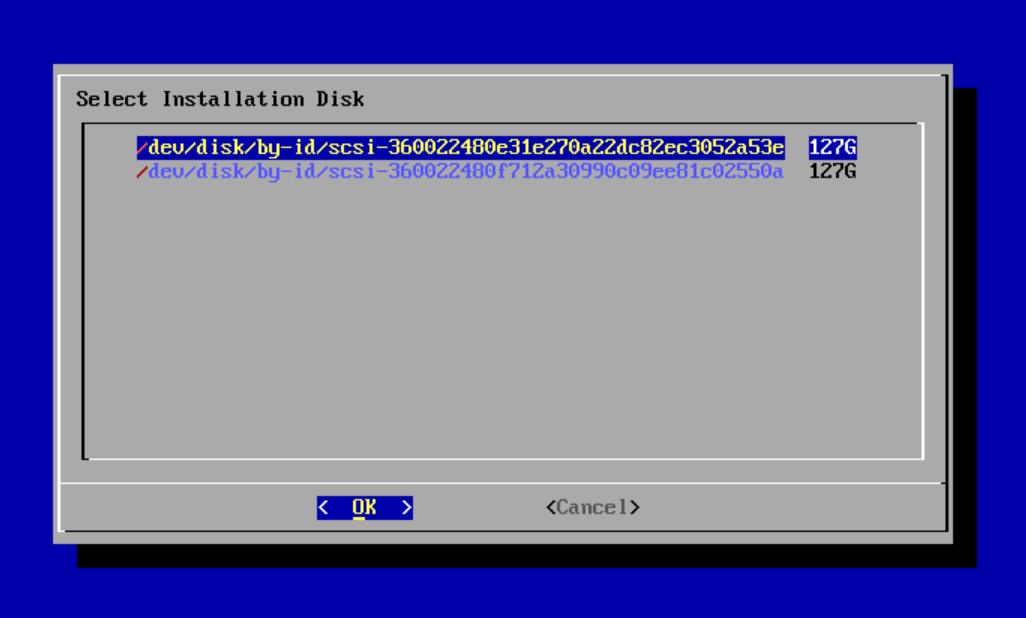
If there are multiple disks present in the system you will need to select the boot disk. Typically the first disk in the list is the first boot disk. Using the up and down arrow keys select the installation disk and press Enter.
A confirmation dialog box will open to confirm the destruction of all data on the installation disk. If you proceed past this point there will be permanent data loss on the installation disk. Press Enter to select Yes and start the installation process.
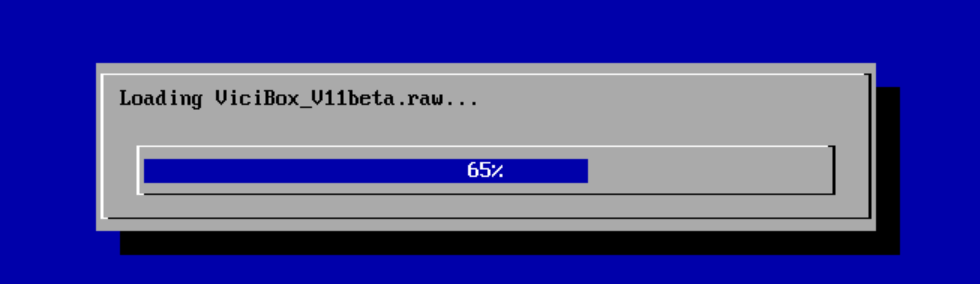
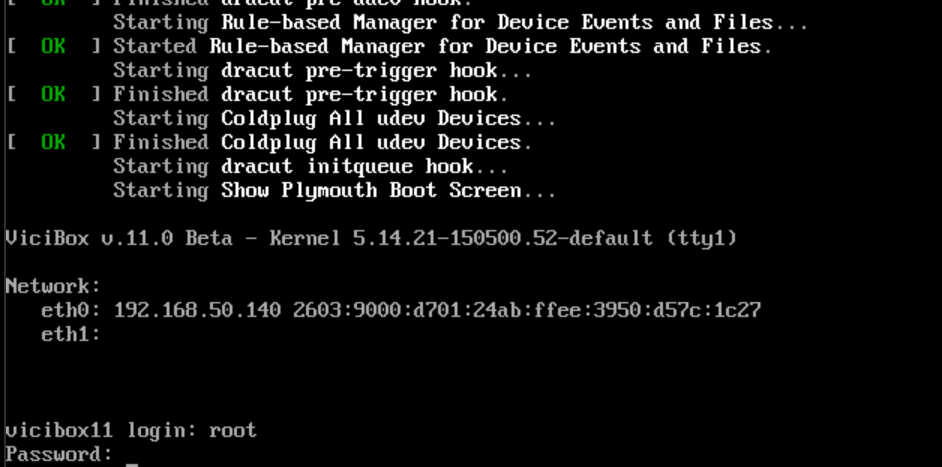
You will see a couple of progress indicators as the installer copies ViciBox to the installation disk. After that the system will boot from the installation disk and continue installing. After a short wait a login: prompt will be displayed along with the current network configuration. At this point the rest of the instruction can be carried out through either the console or SSH.
At the login: prompt type
rootand press Enter.The first root login to the system will start a configuration wizard. Press Enter to continue.
Using the up and down arrow keys, select the system’s localisation and press Enter.
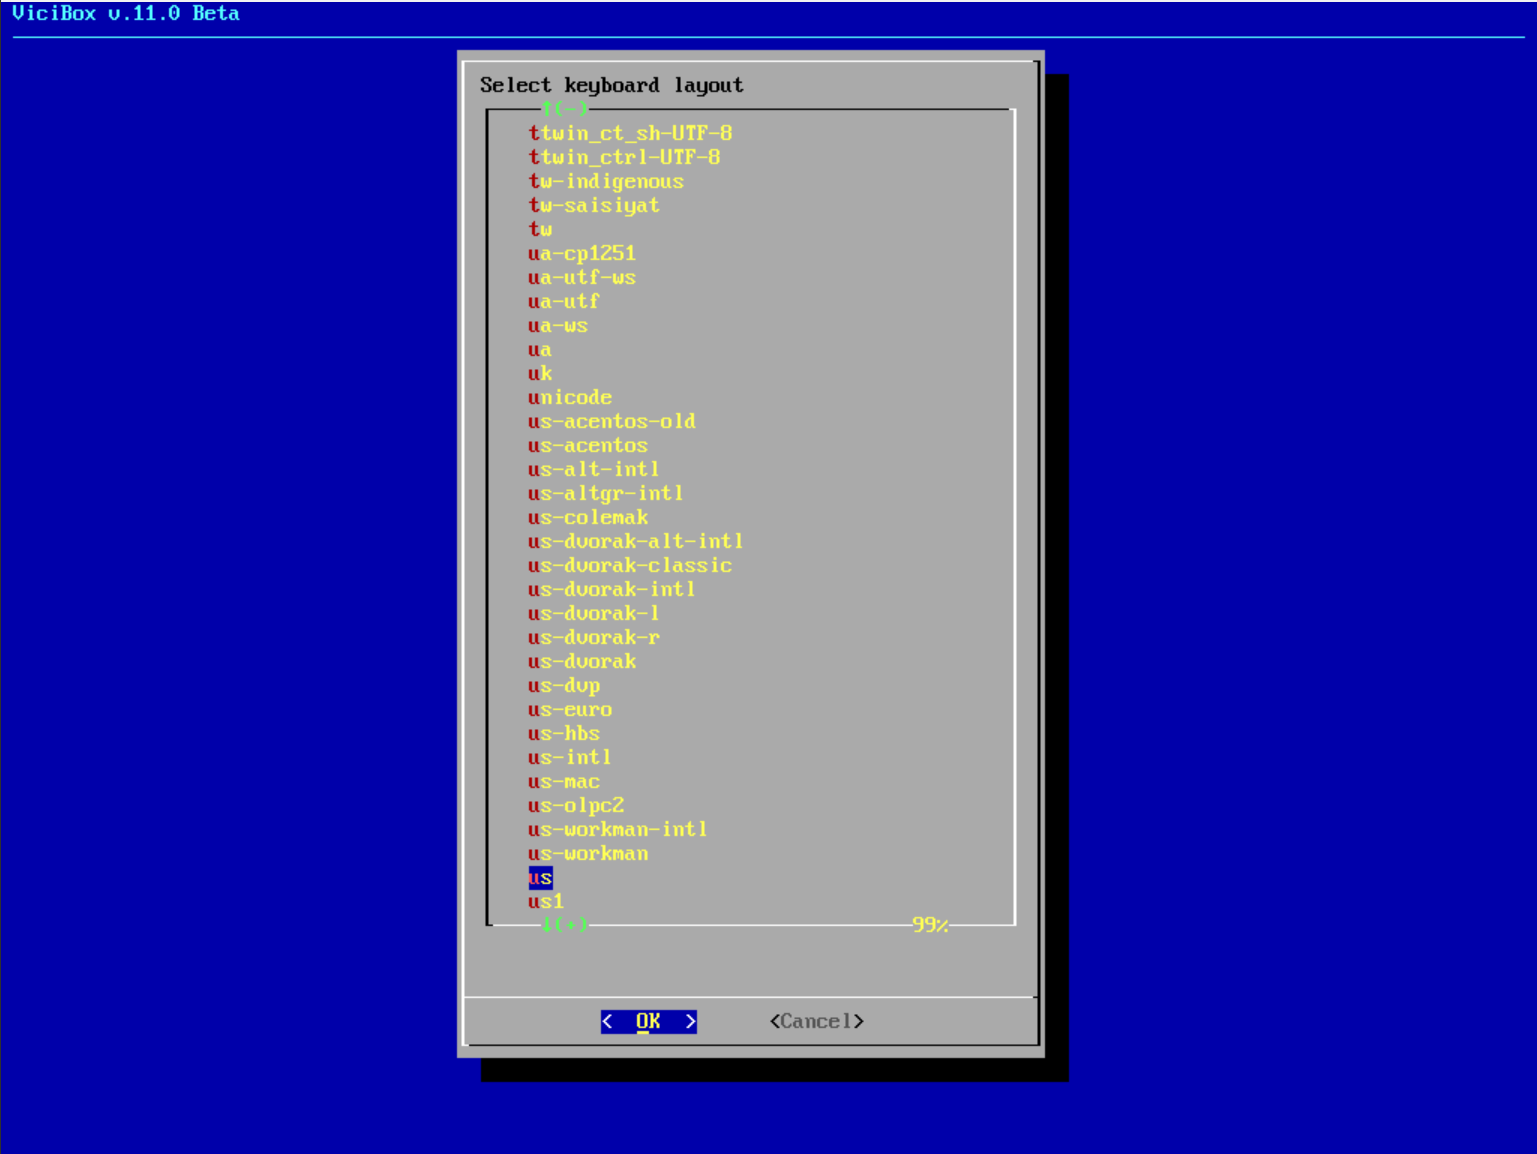
Using the up and down arrow keys, select the system’s keyboard layout and press Enter.
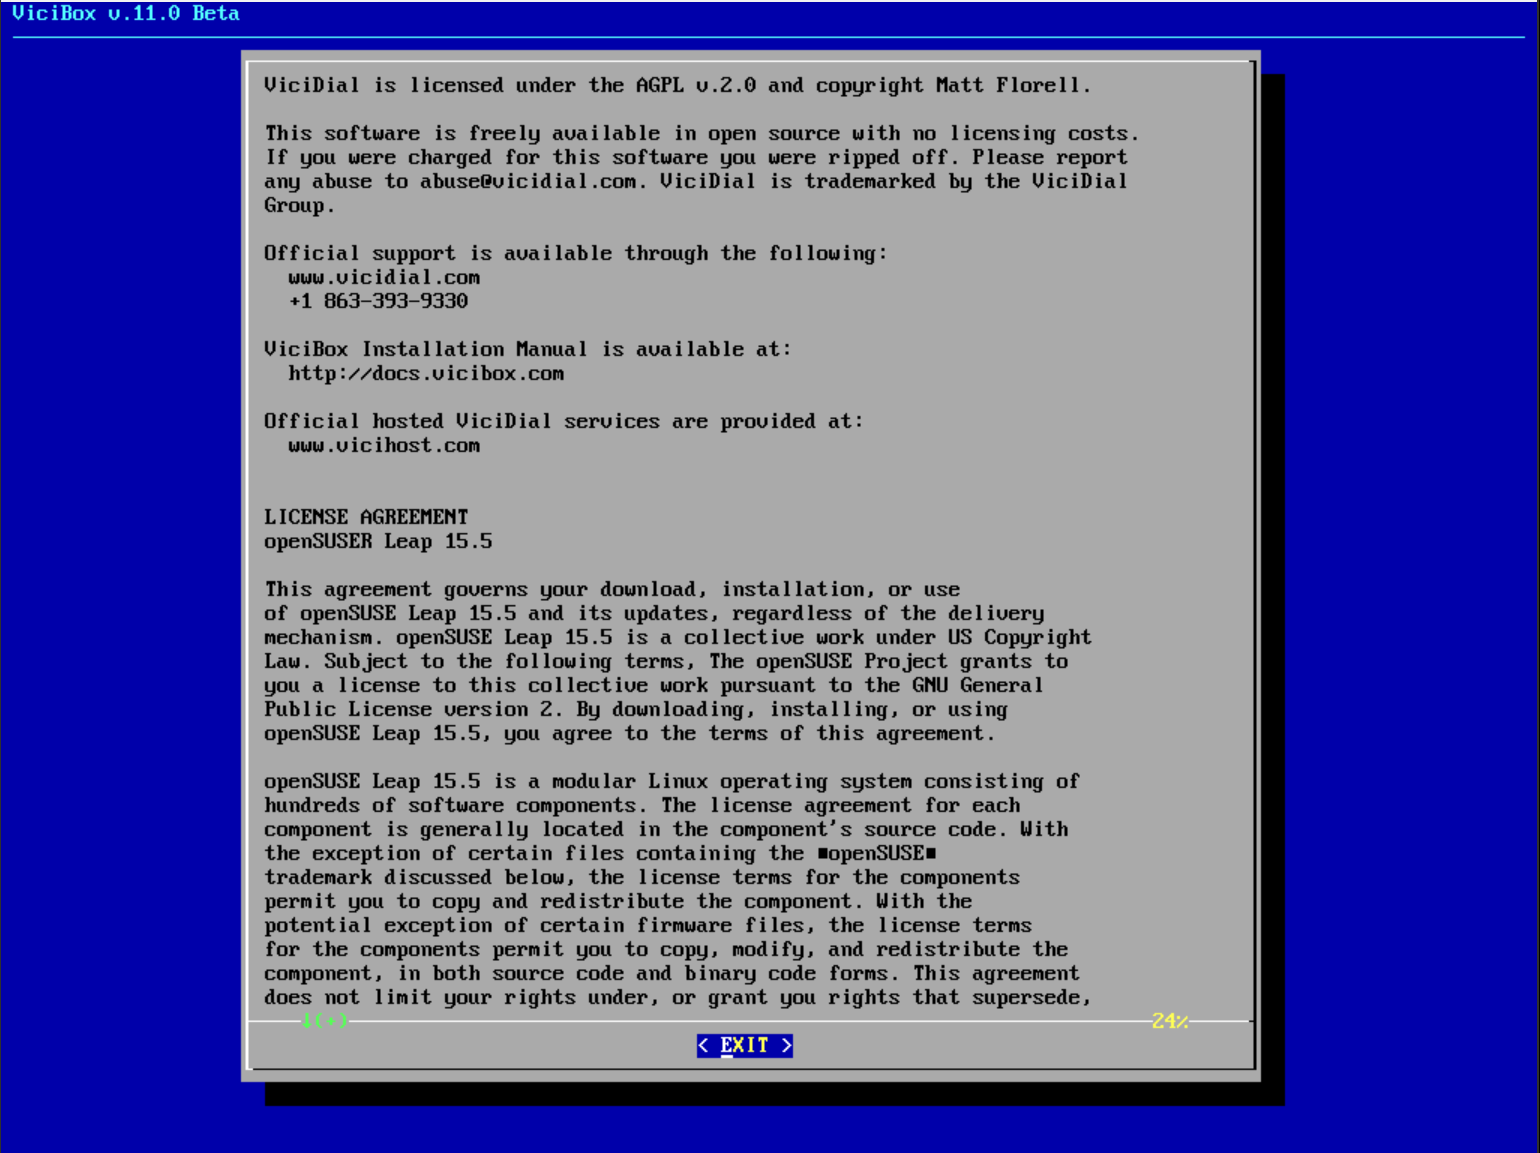
Using the up and down arrow keys, read through the license until satisfied. Press Enter to continue.
Using the Tab key, select Yes and press Enter to accept the license.
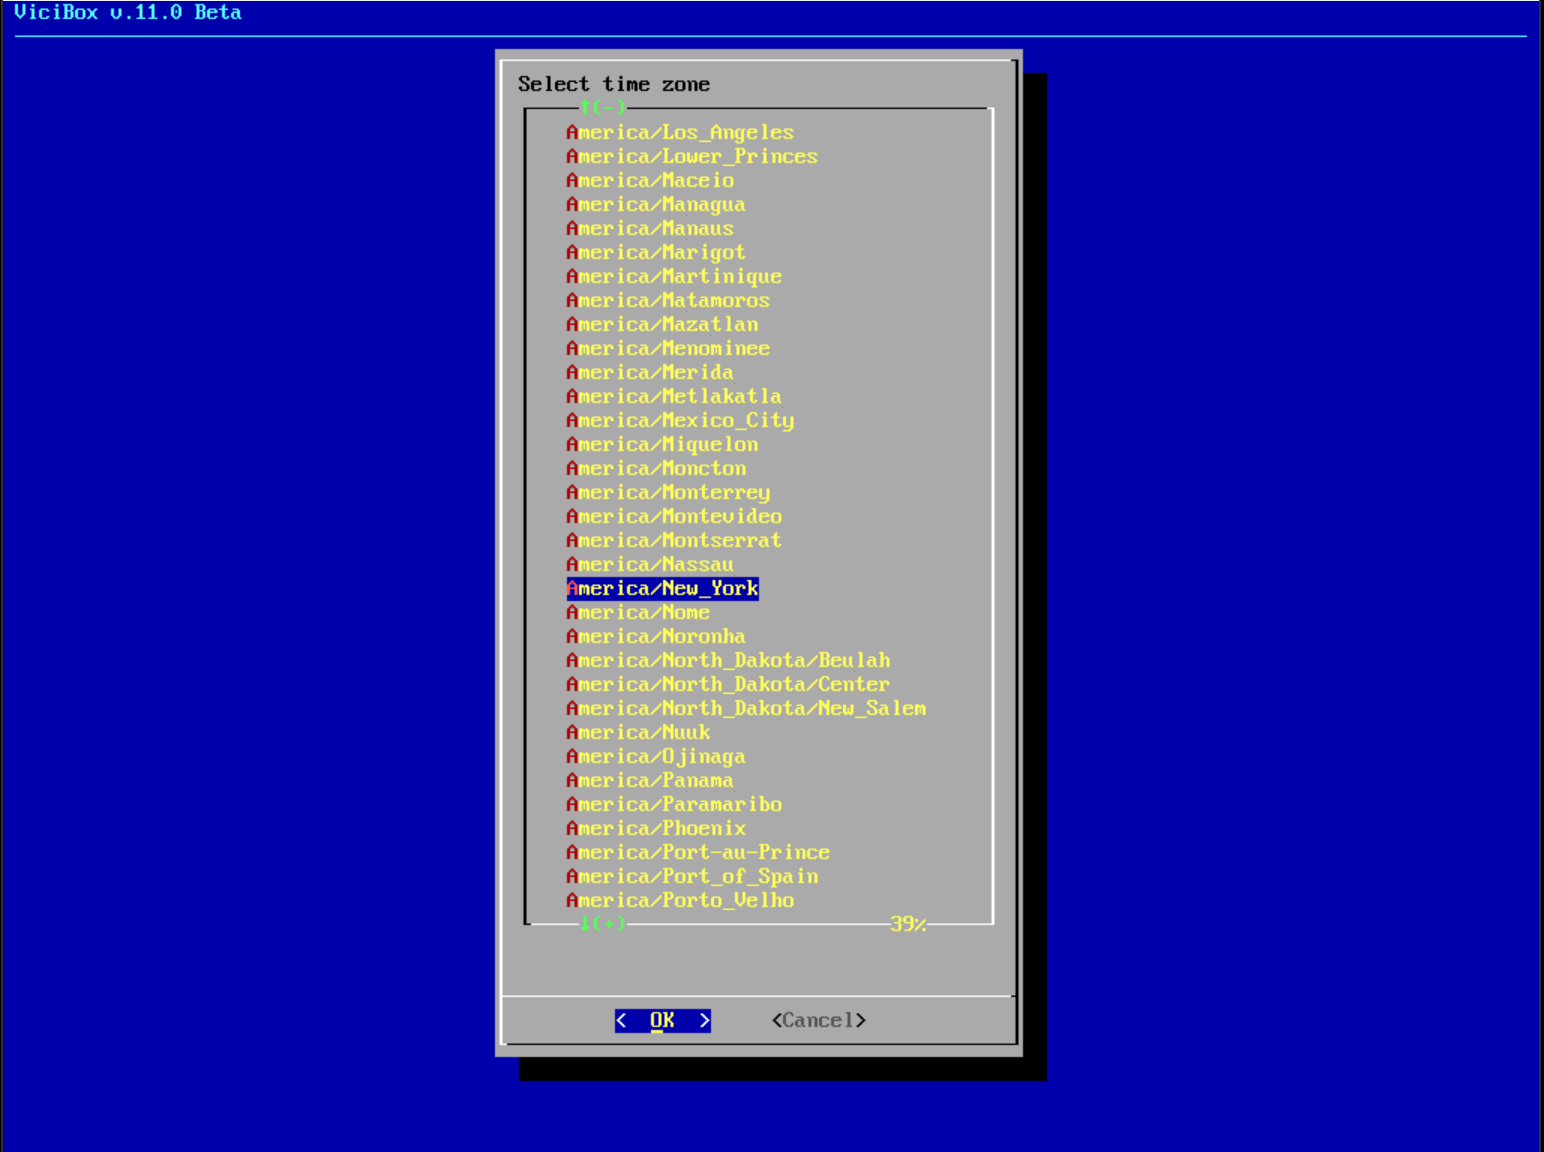
Using the up and down arrow keys, select the system’s local timezone and press Enter.
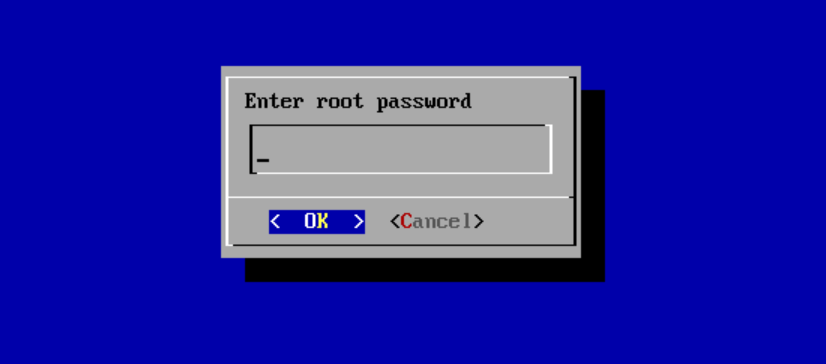
Type in the new root password you want to use and press Enter. To keep the old root password type in
vicidial.Type in the new root password again from the above step to confirm it and press
ENTER.If internet connectivity is available, the system will ask to install updates. Press
ENTERto continue and install updates.If the MD RAID installation image was used, the system will ask to setup the RAID array if appropriate target drives are present. Select the appropriate drive number from the shown list and press
ENTER.The RAID setup tool will ask to confirm the destruction of the target drive. Press
ENTERto confirm the target drive.The RAID setup is complicated with all the various states that old drives can be in. If you run into any issues with RAID setup it is recommended to wipe the drives with
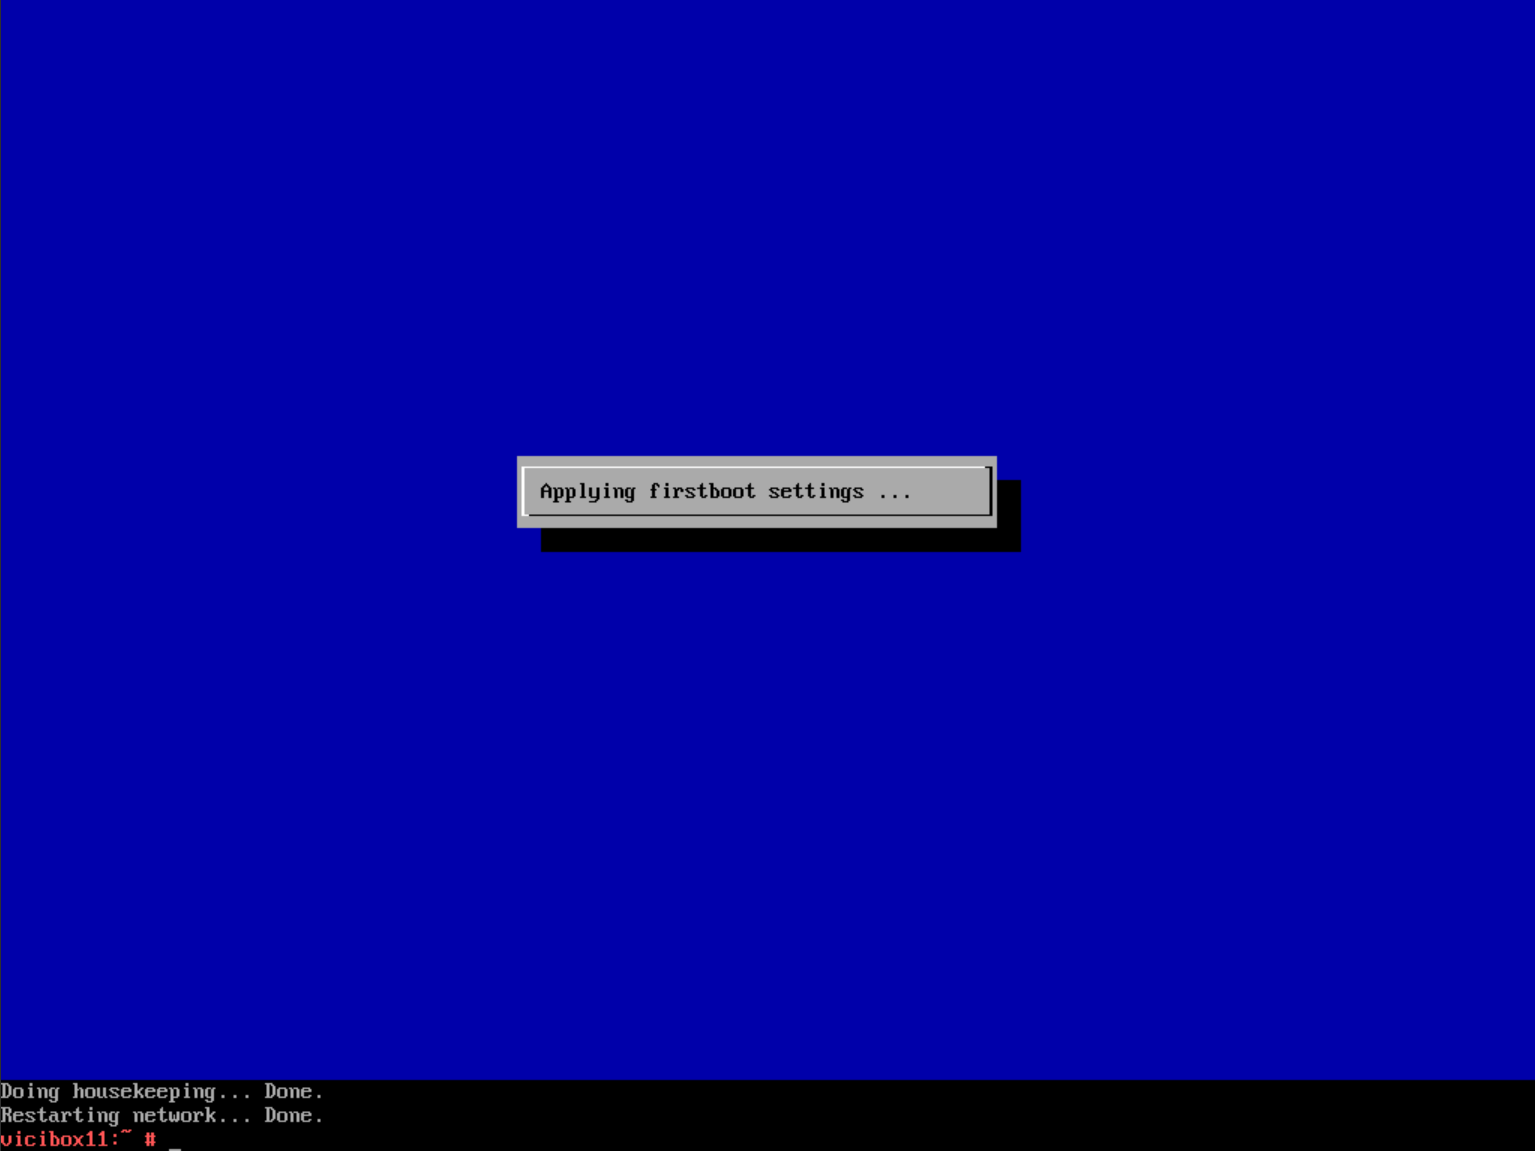
wipefs -fa /dev/sdX(replace sdX with device ID) and restart the installation from step 1.Once the vicibox12:~ # command prompt is displayed with a cursor, the installation is complete. It is highly recommended to remove the installation media and reboot. To reboot, type
rebootand pressENTER.
Congrats, ViciBox has been installed. Please remember the password you used as it will be needed in the next phase.
Installation Video
Watch the ViciBox v.12.0 Phase 1 Installation Video.
Screenshots
- Select Install ViciBox
- Select Installation Disk
- Confirm data destruction

- Installing to disk
- Login as root
- First Login

- Select system locale

- Select keyboard layout
- Read through license
- Accept the license

- Select timezone
- Type in new root password
- Confirm the new root password

- Install updates over internet

- Installation complete without RAID
RAID Specific
The following screenshots show installation sections related to the MD RAID image. This is only ran when multiple-drives are detected in the system and /dev/md2 is being used for root.
- Select target drive to add

- Verify successful setup then reboot

- Add a new or spare drive to the array

- Verify spare (S) drive is added to array
